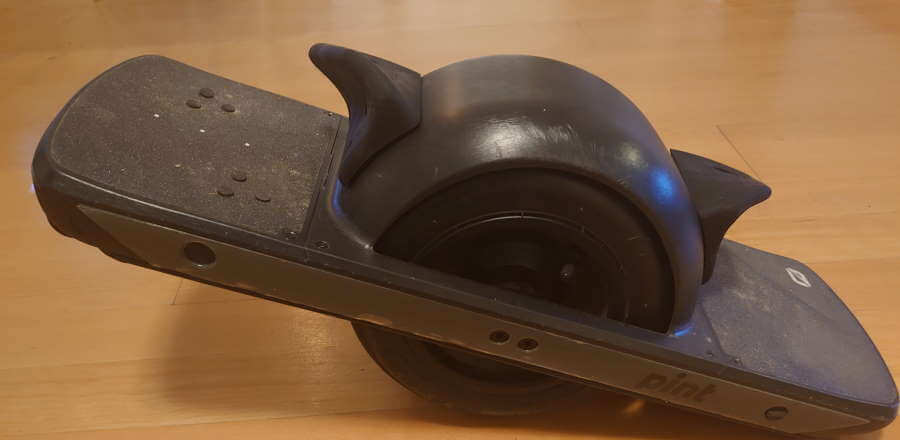
There are two ways of installing the Flight Fins, either with the FlightFender or on the stock Fender from Future Motion. The cheapest option is to buy the Flight Fins, v1 or v2, and just attach them to your board. Down below is what you need to have and how to install them.
Tools and Equipment to install the Onewheel Flight Fins
To successfully install the Onewheel Flight Fins on your fender, you’ll need the following tools and equipment:
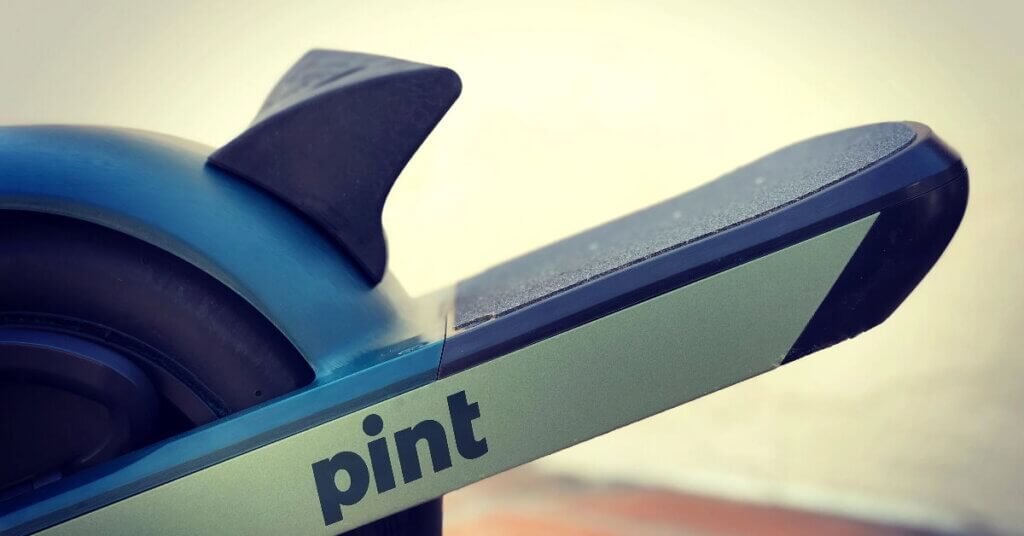
- Fender: The Onewheel Flight Fins are designed to work with the stock fender, but they can also be installed on other types.
- Drill: A reliable drill is necessary to create the holes for the fins and zip ties.
- Drill Bits: You’ll need a 7/32” drill bit for the fins holes and a 1/4” drill bit for the zip tie holes.
- Painter’s Tape: This is used for marking the fender holes accurately.
- Pen or Marker: A pen or marker is used to mark the fender holes.
- Phillips Head Screwdriver: This is used to tighten the bolts.
- Small Wrench or Ratchet: This tool is used to hold the nut in place while tightening the bolts.
- Allen Wrench: An Allen wrench is used for certain bolts.
How to install the Onewheel Flight Fins on a fender
Installing the Flight Fins is easy if you just follow the steps down below. Make sure to take it easy and measure twice before drilling into your fender. You don’t have any options to make adjustments after they are installed as the Flight Fender kit provides.
Step 1 – Prepare the Fender for Installation
The first step is to start with the fender attached to your Onewheel. Having it attached makes the measurement more accurate as the height of the footpad will be accounted for when you line the fins up in step 2. Put painter’s tape on both sides of the fender where the fins will be placed. The Painter’s tape makes it possible to mark where the fins will be attached.
Step 2 – Fit the Fins on the Onewheel
For this step, you must wear the shoes you normally wear when you are riding the Onewheel. If you are using multiple shoes you have two options, either use the biggest shoes so all work with the Flight Fins, or choose the one you most often ride with.
Power on the board, step onto it and center your feet up against the fender. Put the Fins over your foot, and move it up and down until you find a comfortable placement. Use the pen/marker to outline the corners of the Fin.
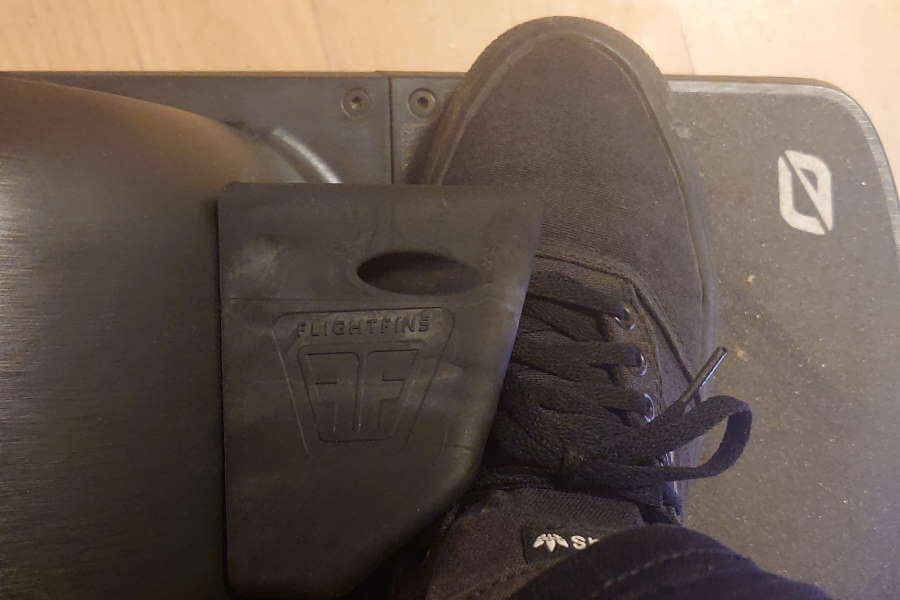
Repeat this step with the other side
Tip: Use a chair to have someone help to keep balance/mark while fitting the Fins.
Step 3 – Create the marks for the holes
Power of the device. Align the Fins with the marks on the fender. With a nail or something sharp scratch into the painter’s tape through each of the four holes.
Tip: Use a pen/marker to mark the scratch mark more visually for the next step
Step 4 – Drill the Holes into the Fender
Remove the fender from the Onewheel and drill the marked Fin holes with the 7/32” drill bit..
Step 5 – Bolt the Fins to the Fender
Install the Fins with the corresponding bolts on the inside of the fender. The 1” bolts on top and the 5/8” are on the bottom holes. Use a wrench to keep the nut in place while using the screwdriver to tighten the bolts.
Do not overtighten the bolts.
If you overtighten the bolt there is a risk of damaging and/or pulling the bolts thru the Fins.
Step 6 – Drill the Zip Tie Holes
This is an optional but recommended step. Drill a hole slightly above the fastening point on all four sides of the fender with the 1/4 ” drill bit.
Step 7 – Final Adjustments
Install the Fender back on and roll the board back and forth to verify that the bolts are not contacting the wheel. You can visually inspect the wheel for any marks indicating contact with the wheel.
Step 8 – Install The Zip Ties
To further secure the fender to the board loop the zip ties through the fender holes and around the rails of your board. Pull them tight and trim the excess off.
Now you are ready to float and Fly with your newly installed Flight Fins!
Want to read more?
Uncertain about which Flight fins to get or want to know more about them, read more about hit here Onewheel Flight Fins (V1, V2 and miniFins).