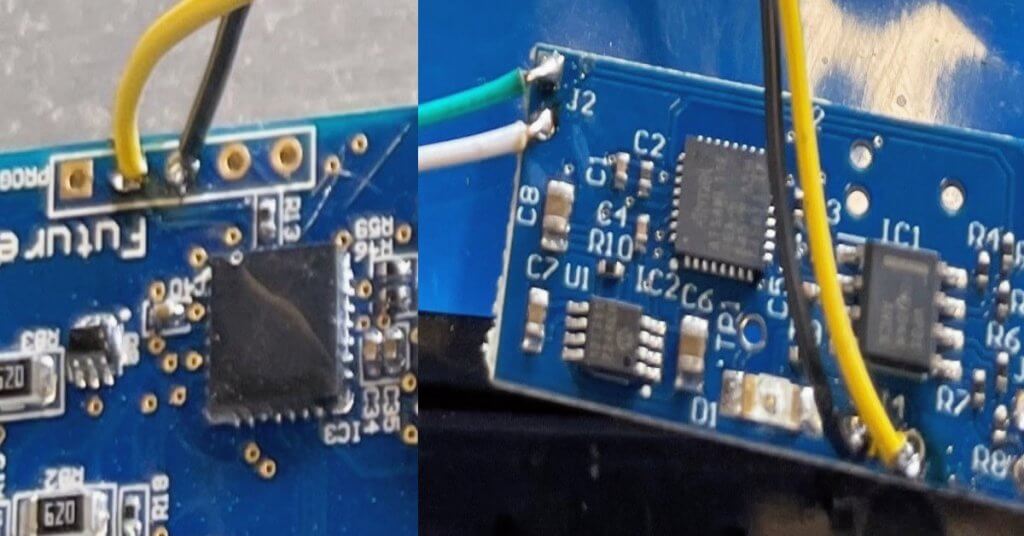
Future Motion Inc. has with the latest hardware versions on both the Onewheel XR and Pint paired the BMS and the controller together to hinder battery upgrades and repairs. The JWFFM Chip allows Onewheel owners the possibility to upgrade their Onewheels with extended battery options and fix the boards.
IMPORTANT: JWBatteries is in no way affiliated with Future Motion. Installation of our battery and/or chip will void your FM warranty.
The JWFFM Chip allows Onewheel owners the freedom to upgrade their Onewheel XR or Onewheel Pint with extended-range battery options and much more!
History And The Need
Starting with Onewheel XR hardware version 4210 and above, extended-range battery options on the Onewheel were removed. The Onewheel Pint has always had the controller and BMS paired from the release. Effectively blocking and swapping the hardware. The JWFFM chip improves your board performance by allowing for the installation of battery extensions and enhanced battery.

With the JWFFM Chip, all Onewheel XR and Onewheel Pint boards can be used at any time for battery extensions, either from JW, Quartz, or VNR packs. It truly expands the range of the boards, especially for the Pint. I can say that I sometimes get range anxiety on my stock Pint.
Say goodbye to range anxiety!
The second great benefit of bypassing the paring of the hardware is the right of repair. With the introduction of paired controller/BMS, Future Motion Inc. shut down the possibility of repairing a board with either a fried BMS or Controller. This is in my mind the greatest achievement of the chip.
How The JWFFM Chip Works
This is of course a trade secret and JWBatteries is not sharing this information. What we know is that the JWFFM chip piggybacks on the battery management system to provide accurate battery readings and disrupt the “pairing” of the BMS and main controller.
It’s connected to the communication line by the TX RX between the controller and BMS. The BMS and Controller are talking with a serial interface.
The chip will not show accurate battery voltages in the application indicating the disruption between the systems.
There is now an open-source alternative that has some of the features present in the JWFFM Chip, OWIE. Read more about the chip, OWIE, and source code.
How to install the JWFFM Chip
Installing the JWFFM chip is not the easiest and if you are not prepared to do some small soldering I would heavily recommend you contact an Onewheel repair shop.
Click Here for a video going over the installation of the JWFFM chip from JW Batteries.
I’m not responsible for any damages caused when installing the chip. It’s up to the reader to follow the guidance from JW Batteries.

- The best location is to put it in the battery compartment. Make sure to protect the chip with some electric tape.
- You connect the chip between the green and white wire connecting the BMS and Controller. Place the chip where it will be located and measure the correct position to cut the cables.
- Strip the cables and prepare for the next steps.
- The chip is powered by 5v from the BMS. Solder the 5v and ground from the BMS to the chip.
- Solder the green and white cables onto the chip.
- The green on the 6-pin connector is negative and goes to the square on the side with the LED facing you. (top J2) Solder the white on the bottom position.
- Then solder the green cable going to the controller on the top right position and the white on the bottom right.
- Check your solder work and trim any excess off.
- Package everything inside and make sure not to short anything. A good idea is to use some electric tape to protect the chip.
WARNING: If you are installing an upgraded battery look at the installation guide so you don’t connect the BMS in the wrong way, this could fry your board because Future Motion is not following common guidelines.
Future Motion is suing JW Batteries for the JWFFM Chip and Trademark infringement, read more about it here. The lawsuit was dismissed but the company still has decided to close down.


