Here is how to open the Onewheel Pint controller box to fix the most common issue, the loose nut holding the power button. This nut is risking shorting the Bluetooth chip if it becomes loose. Luckily I found mine in time to fix the problem. It is a fairly simple process; you can check the board and connectors simultaneously.
The rattling sound comes from the Onewheel Pint controller box because the metal locking nut holding the power button in place has been unscrewed. It’s dangling on the power leads from the power button and risking shortening the Bluetooth chip if not fixed.
What you need to open the controller box:
- T20 Torx (screws for the fender and sensor pad)
- T20 5-point Tamperproof Security bit for the Onewheel Pint Controller box
How to open the box
- If you have the fender remove the four screws holding it down and set the fender aside.
- Turn the Onewheel upside down and remove the four screws holding the sensor pad from the bottom side.
- Turn the Onewheel back and remove the remaining two screws from the sensor pad.
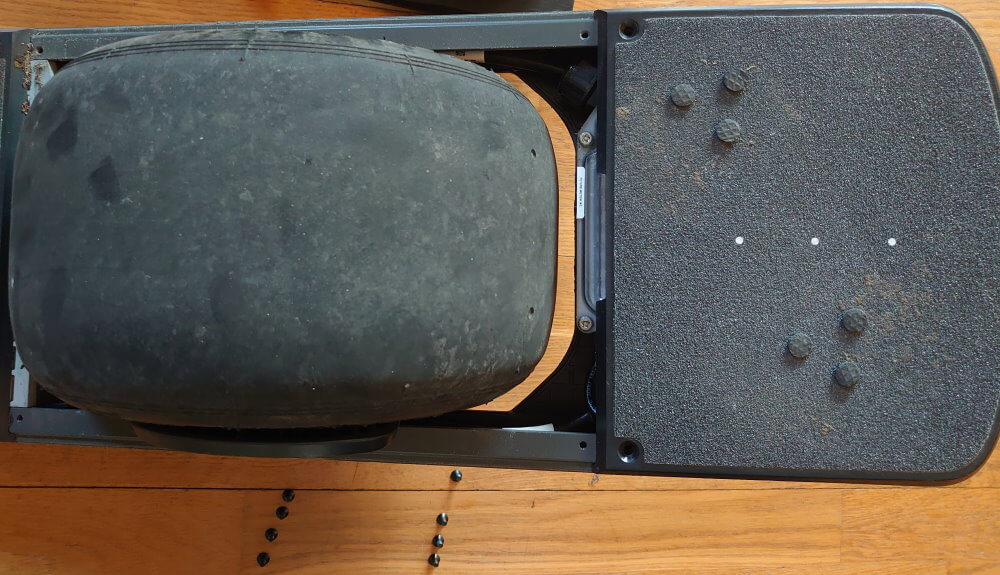
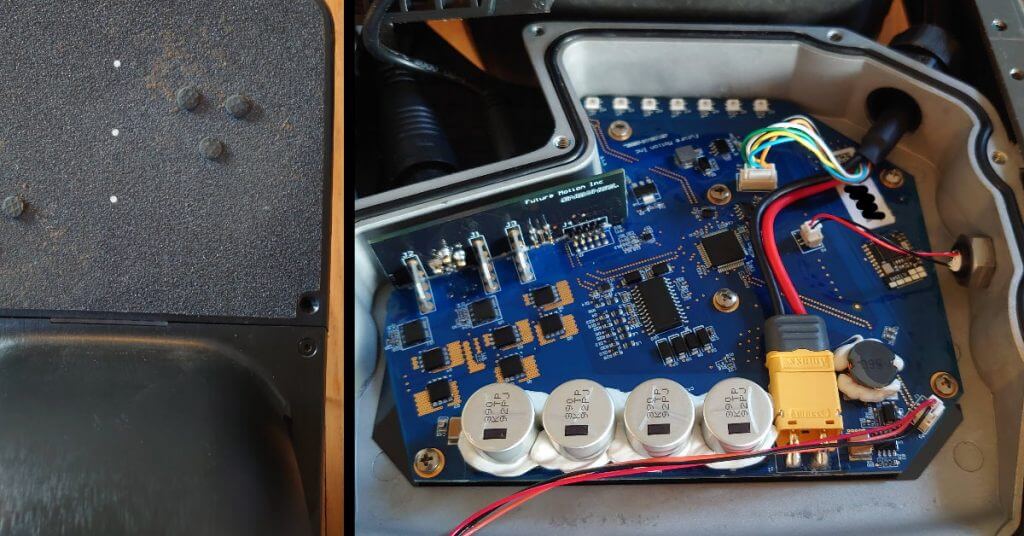
- Gently lift the sensor pad, you can rest it on the wheel, just make sure that it doesn’t fall pulling on the cable. You can disconnect the sensor pad from the controller and move the pad aside.
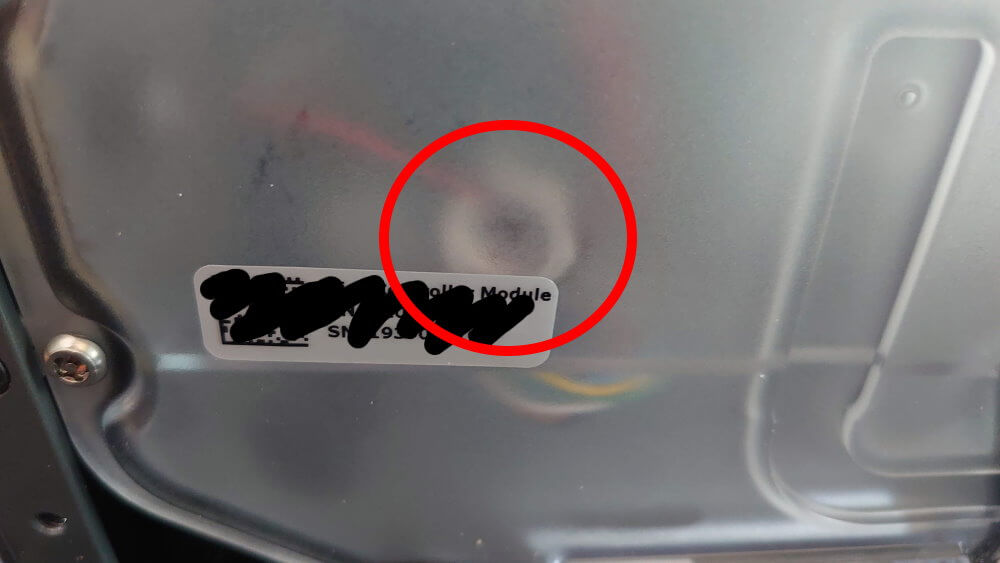
- With the security bit remove the screws holding the lid of the controller box. You will void your warranty sticker when doing this step.
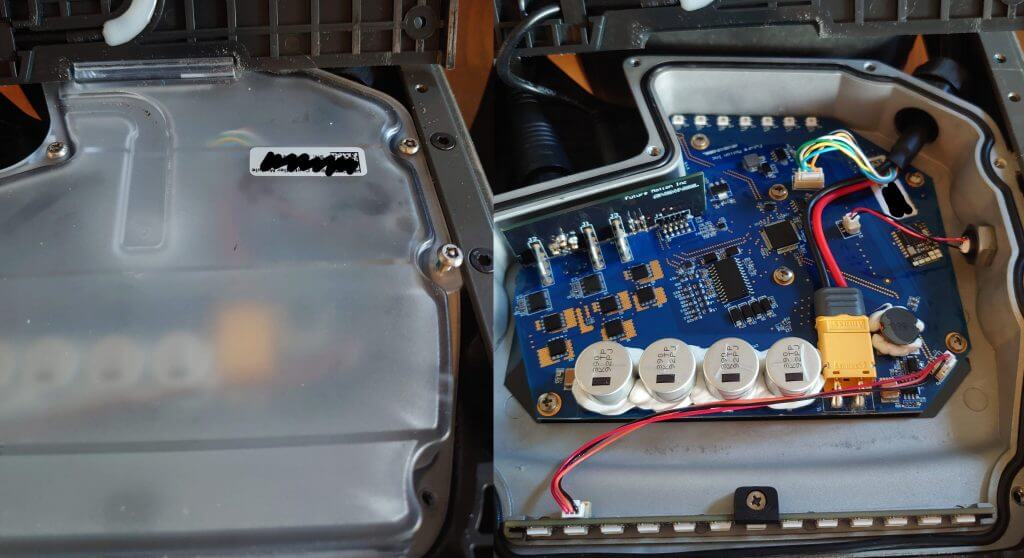
- Open the controller box and the nut will be located on the left side where the power button is. If the nut has unscrewed, screw it back in and security with glue. I used fast adhesive (instant glue) and a glue gun, other people are using silicone to fix it in place.
- When assembling the controller box it’s important to make sure that the gasket is inside the groove before closing and securing the lid. It might take a couple of times if the gasket seems a bit too big like mine. At this step, it’s possible to make the board more waterproof by applying a Waterproofing Kit for Onewheel (badger kit) kit from Badgerwheel. For more information go to his homepage.
- Before putting the sensor pad on and the last screws, take some time to check the cable fasteners going into the controller box to make sure that they are fully connected. Screw back the sensor board and fender if you ride with one.
Replacement Power Button
You can now get a replacement power button for the Pint and Pint X directly from Future Motion Inc. for $15. The new button has a plastic nut and there is no risk of shortage or internal damage to the board.

Are you having other problems check the Onewheel Troubleshooting Guide or the Complete Error code List for more help.
Disclosure: Some of the links below are affiliate links. This means that, at zero cost to you, I will earn an affiliate commission if you click through the link and finalize a purchase.