If you can test the board out before buying the person in the shop will most likely give you some good starter advice and initial training. It’s not uncommon to think “What have I done” after the first 30 minutes of trying to ride the board on your own. Here are some tips for how to learn to control the board. You will get there!
The main advice anyone will give you is, Just keep riding. Take it easy, you will get a feel for the board.
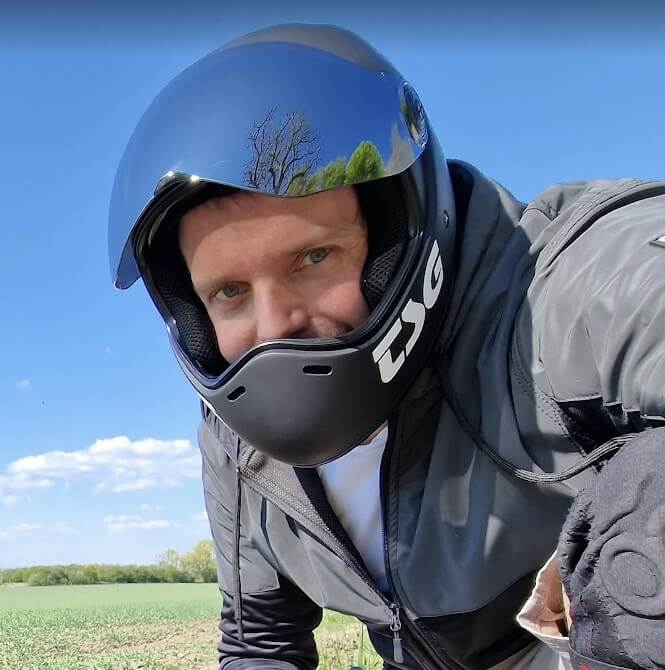
Make sure to wear safety gear just in case, here is my list and what I use daily. Especially if you’re going to be trying something new, it can be riding a switch, doing curb drops/jumps, or just stepping on your board. The more you ride, the better you’ll get.
The Basics
While it’s strongly advised to read the manual, here’s a quick guide.
- Start by turning on your Onewheel using the power switch.
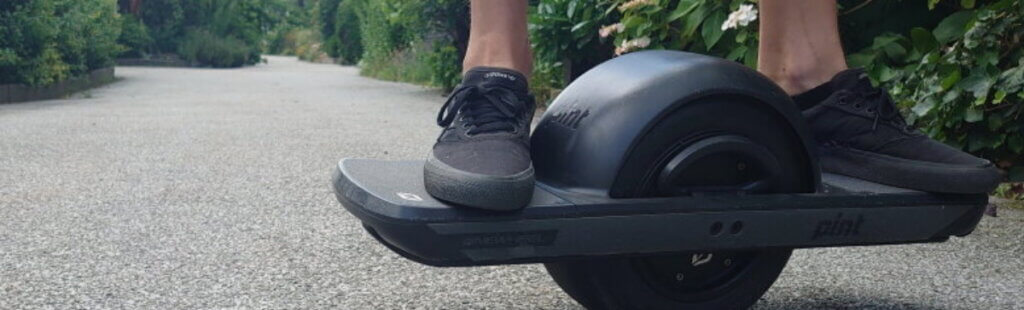
- Step onto the board, ensuring your front foot is firmly on both sensors of the front pad. The Onewheel detects your presence through these sensors.
- Gradually shift your weight to the front foot. The Onewheel activates as the board levels horizontally.
Avoid being the one who takes a spill the moment they step on the board!
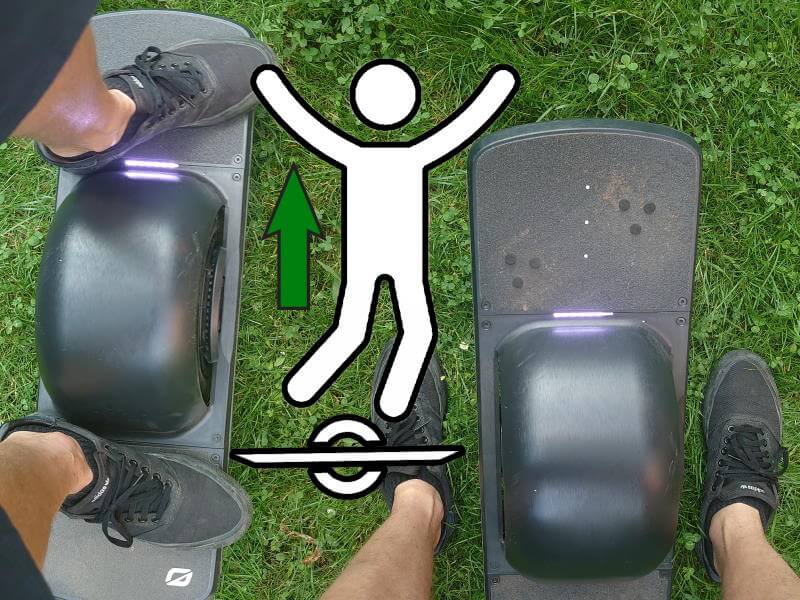
This might be challenging for new riders and we recommend having a friend nearby for balance and support. If you are new to board sports then it’s recommended to check if your stance is regular or goofy.
Finding a good stance – Regular or Goofy
The first thing before stepping onto an Onewheel, or any board, is to work out which foot you want to have at the front, the leading foot. If you have tried any of the board sports before then you will probably already know which one is your preferred.
If you don’t then the simplest way to do this is to stand facing forwards with both your feet slightly apart and ask a friend to gently push you from behind. If you naturally put your left foot forward first then you are a “regular foot” and will ride with your left foot at the front of the Onewheel. And if you naturally put your right foot forward first then you’re “goofy” and will ride with your right foot at the front.
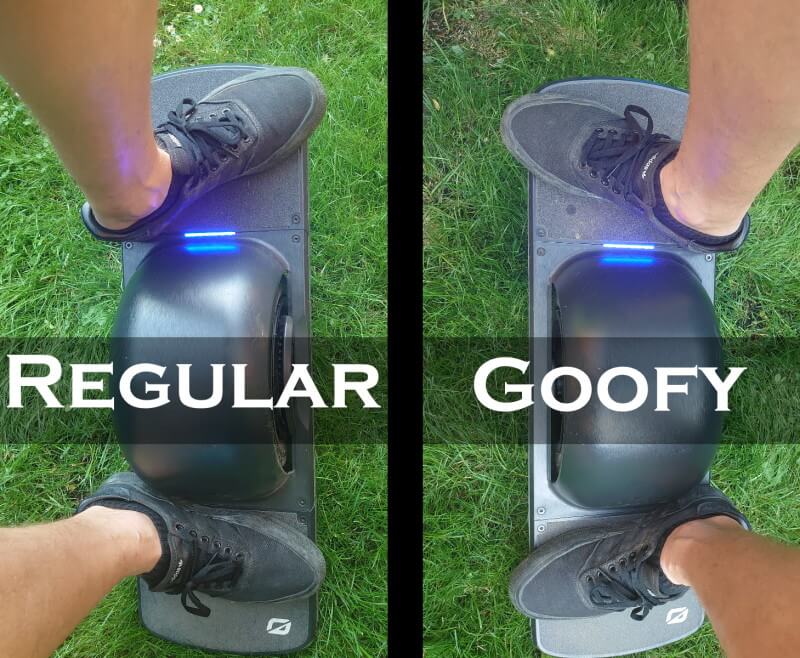
If you feel that it doesn’t quite feel right you can try it the other way around. It’s not uncommon to ride the Onewheel switched compared to your snowboard. There are plenty of people riding either regular/goofy on other boards but switching when riding the Onewheel.
Mounting the Onewheel
It’s recommended to have a friend with you the first couple of times you try to step onto your Onewheel. Your friend can hold your hands to help you with the balance, alternatively, find a light post or similar that you can hold to gain stability.
Don’t do this inside or at a parking lot with cars around, it’s not uncommon when learning that the board can be launched away, damaging your furniture, wall, or cars nearby.
- Place the Onewheel on the ground with the back pad touching the ground
- Put your back foot firmly onto the back pad and put your front foot onto the front pad, keeping more weight on the back foot to keep the board on the ground
- Slightly shift your weight onto the front foot by applying some pressure and use the momentum of your body to make the board balance.
- Your weight and center of gravity should always stay centered over the wheel.
Riding
Once you are standing on the Onewheel and the motor is engaged, moving around is incredibly easy. Simply lean forward to accelerate and lean back to slow down. Turning side-to-side is as simple as shifting your weight to your toes or your heel. Start with small movements until you get your legs under you, then gradually pick up the speed as you get more and more comfortable. Remember to keep that front foot firmly pressed against the front plate at all times, putting pressure on the two sensors!
Bailout from the board (Jump)
The first thing to learn after mounting the board is how to bail out with a jump. Yes, the board will get scratched, and that’s why you should already have protective accessories on it. I recommend floatplates and sidekicks/protective film for the rails.
Here is my list of third-party companies having accessories and shops in both the USA and Europe.
- Be mounted on the board with your weight centered above the wheel
- Jump up and land with your feet, one on each side of the board. (don’t jump forward or backward, doing this will risk you hitting the board on your way down and trip)
Practice the bailout jump at least 10 times or until you feel comfortable doing this. Any time you feel uncertain that you will be able to handle your board, it’s starting to wobble or something else happened, JUMP off.
You will be jumping off your board multiple times during the learning process.
Starting
Once you can mount and balance on the board it’s time for the next step. Turn your head to look in the direction you want to travel. Don’t lean forward to accelerate, just push down your leading foot and you will feel the board respond forward.
If you lean forward you will shift your weight away from the center of the motor, the effect will be that the board will accelerate quickly but also increase the strain on the motor. Not only will it be harder to gain control, but you are also risking overpowering the motor and nosedive.
The idea is to shift minimal weight forward and press down, this can be done by rotating your hips forwards in the direction you are going. The main part of your body shall still be over the wheel.
Breaking
To slow down and brake, you simply do the reverse and push the board back on the rear pad. The board will respond and slow down and stop. Shifting your weight centrally over the board again will keep it balanced else you will start moving in the other direction (for Pint owners, if a simple stop is not activated).
Don’t lock your knees as this will make it harder to absorb bumps and keep your balance, the knees are the shock absorber. We are not talking about doing squats, but keeping them bent and fluid.
Turning
The Onewheel works by using your toes and heels to control the direction of the board. It’s just like turning in other board sports.
If you’re a “regular” foot rider then putting more weight on your toes will make the board turn right and subsequently putting more weight on your heels will turn the board to the left. This is going to be the reverse if you are a “goofy” foot.
- Practice turning by applying more or less weight and seeing what happens with the board. The more you practice, the more you will be able to start to carve the board.
Dismounting
To dismount from the board without simple-stop
- Come to a standstill with your weight above the wheel or slightly on your back foot.
- Lift the heel of your front foot up from the sensor, the board will turn off and fall down on the back
- Step off the board.
To dismount from the board simple-stop enabled (Onewheel Pint)
- Come to a standstill with your weight above the wheel or slightly on your back foot.
- Slowly go backward, and the board will turn off and fall down on your back foot.
- Step off the board.
Additional Tips
Here are some additional tips that will help you ride your board.
Stability
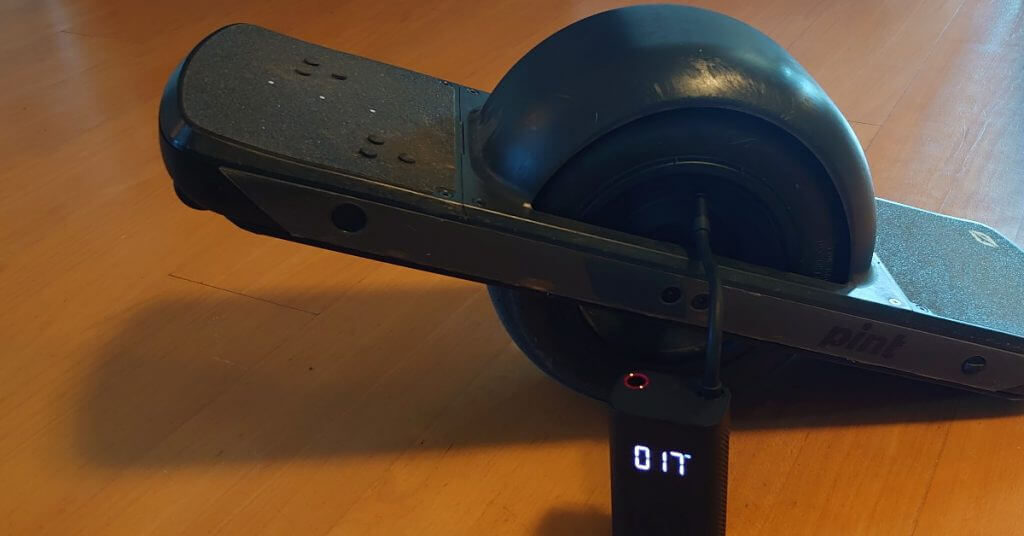
As a beginner to gain more stability, it’s recommended to lower the pressure inside the tire a bit below the normally recommended value. The pressure coming from the manufacturer is varying so it’s important to check it. If you are uncertain about the optimal tire pressure depending on your weight check out my Onewheel tire pressure Calculator. You can get the result in both nonmetric and metric units.
Don’t ride at low battery
The Onehweel will like any motor lose power, the power that can keep you balanced when the battery is running low. It’s therefore recommended to not stress the motor and run at a low battery percentage before you have the correct posture.
The community and expert riders are recommending not running below 20%, there have been many instances where new riders have nosedived at low battery levels. It could have been a bump, weight shift, or something else putting the board over the line.
Onewheel Training and Practice
Bailout practice:
Learn to bail by jumping off with two feet as described above. It will make you much more comfortable knowing that you can easily jump off. Practice this during the first minutes every time you head out for a ride during your first couple of times or until you are comfortable with your board.
Dismount practice:
Stand on the ground with your feet riding width apart. Now put most of your weight on what would be your board-front foot. Now lift that heel without shifting your weight. It’s harder than it sounds, and that’s why dismounting via heel lift can be difficult. Gotta keep your weight balanced or the board will roll away. I’d suggest ending every early ride with 5 proper dismounts in a row so you get the hang of it.
More recommended reading
- Read this post if you want to learn more about how to ride the Onewheel.